AWS Root User Account Setup With Security Best Practices
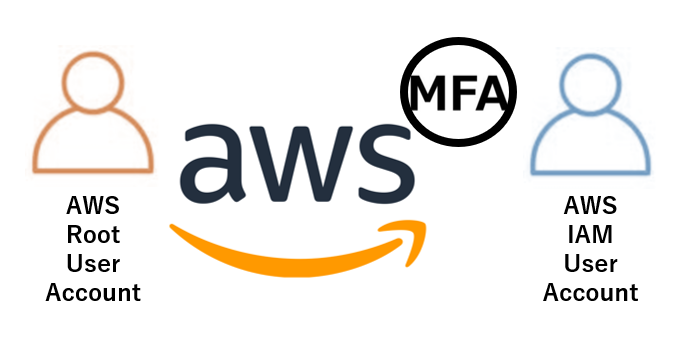
Table of Contents
- Introduction to Accessing Root User Account
- Explaining Best Practices
- MFA As A Security Best Practice
- Setting Up MFA In The Root User Account
- Root User Account And IAM User Separation As A Best Practice
- Conclusion
This is kongs from Cloud Solution Group 2.
Recently, there is some initiative within the company to promote the awareness of AWS cloud among members.
I personally have some experience using AWS cloud, so I would like to share the knowledge and experience that I have gained, both through self learning as well as practical experimentation.
It has come to my attention that one of the pain points that many members have when starting out with using AWS cloud is the lack of knowledge regarding best practices and implementing them successfully.
Hopefully, with today’s walkthrough, we can understand how to properly setup an AWS account for personal projects in accordance with best practices. Along the way, I will also share how to setup MFA for the related accounts for better login security.
Introduction to Accessing Root User Account
When signing up for an AWS account, the first account that is created and accessed by the user is usually the root user account.
The sign in process is different for the root user account and IAM user account, as shown below:
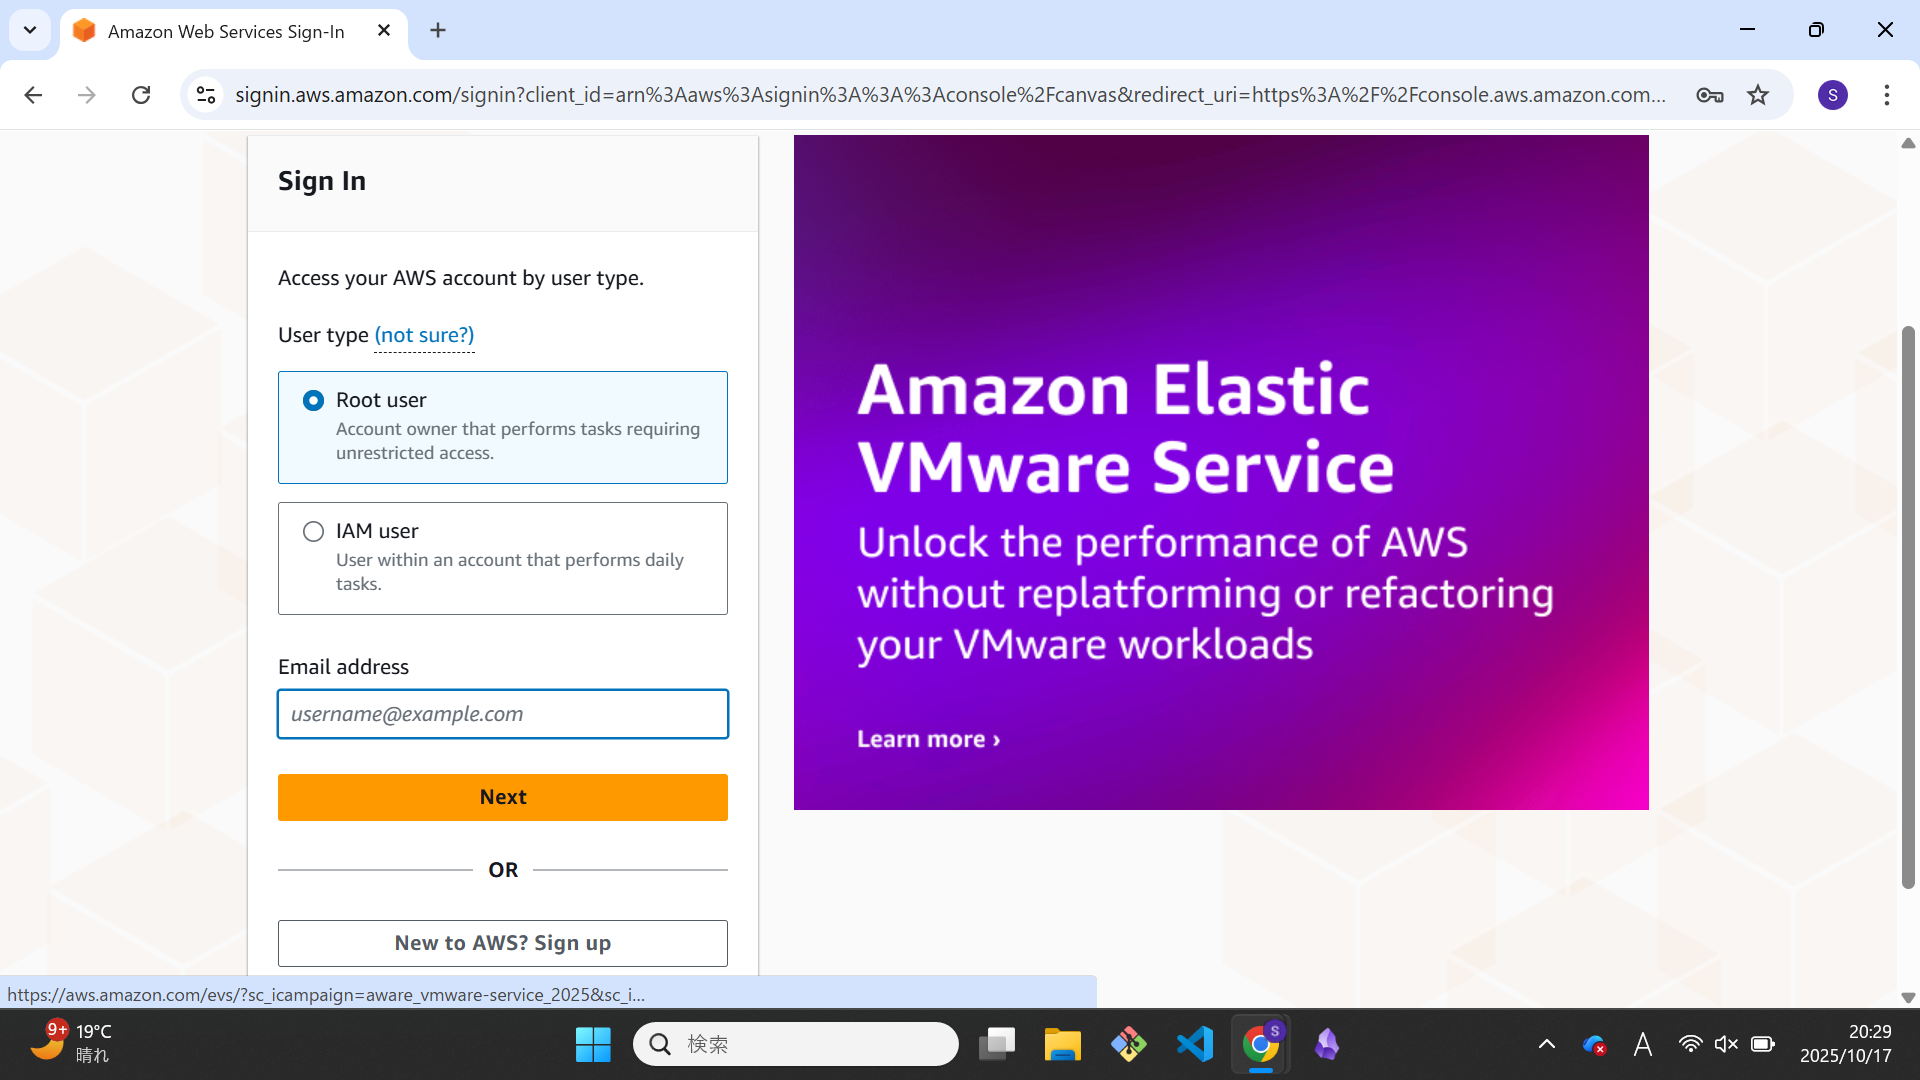
For the IAM user account login, you could use the above login screen, but typically you will login through the following screen instead:
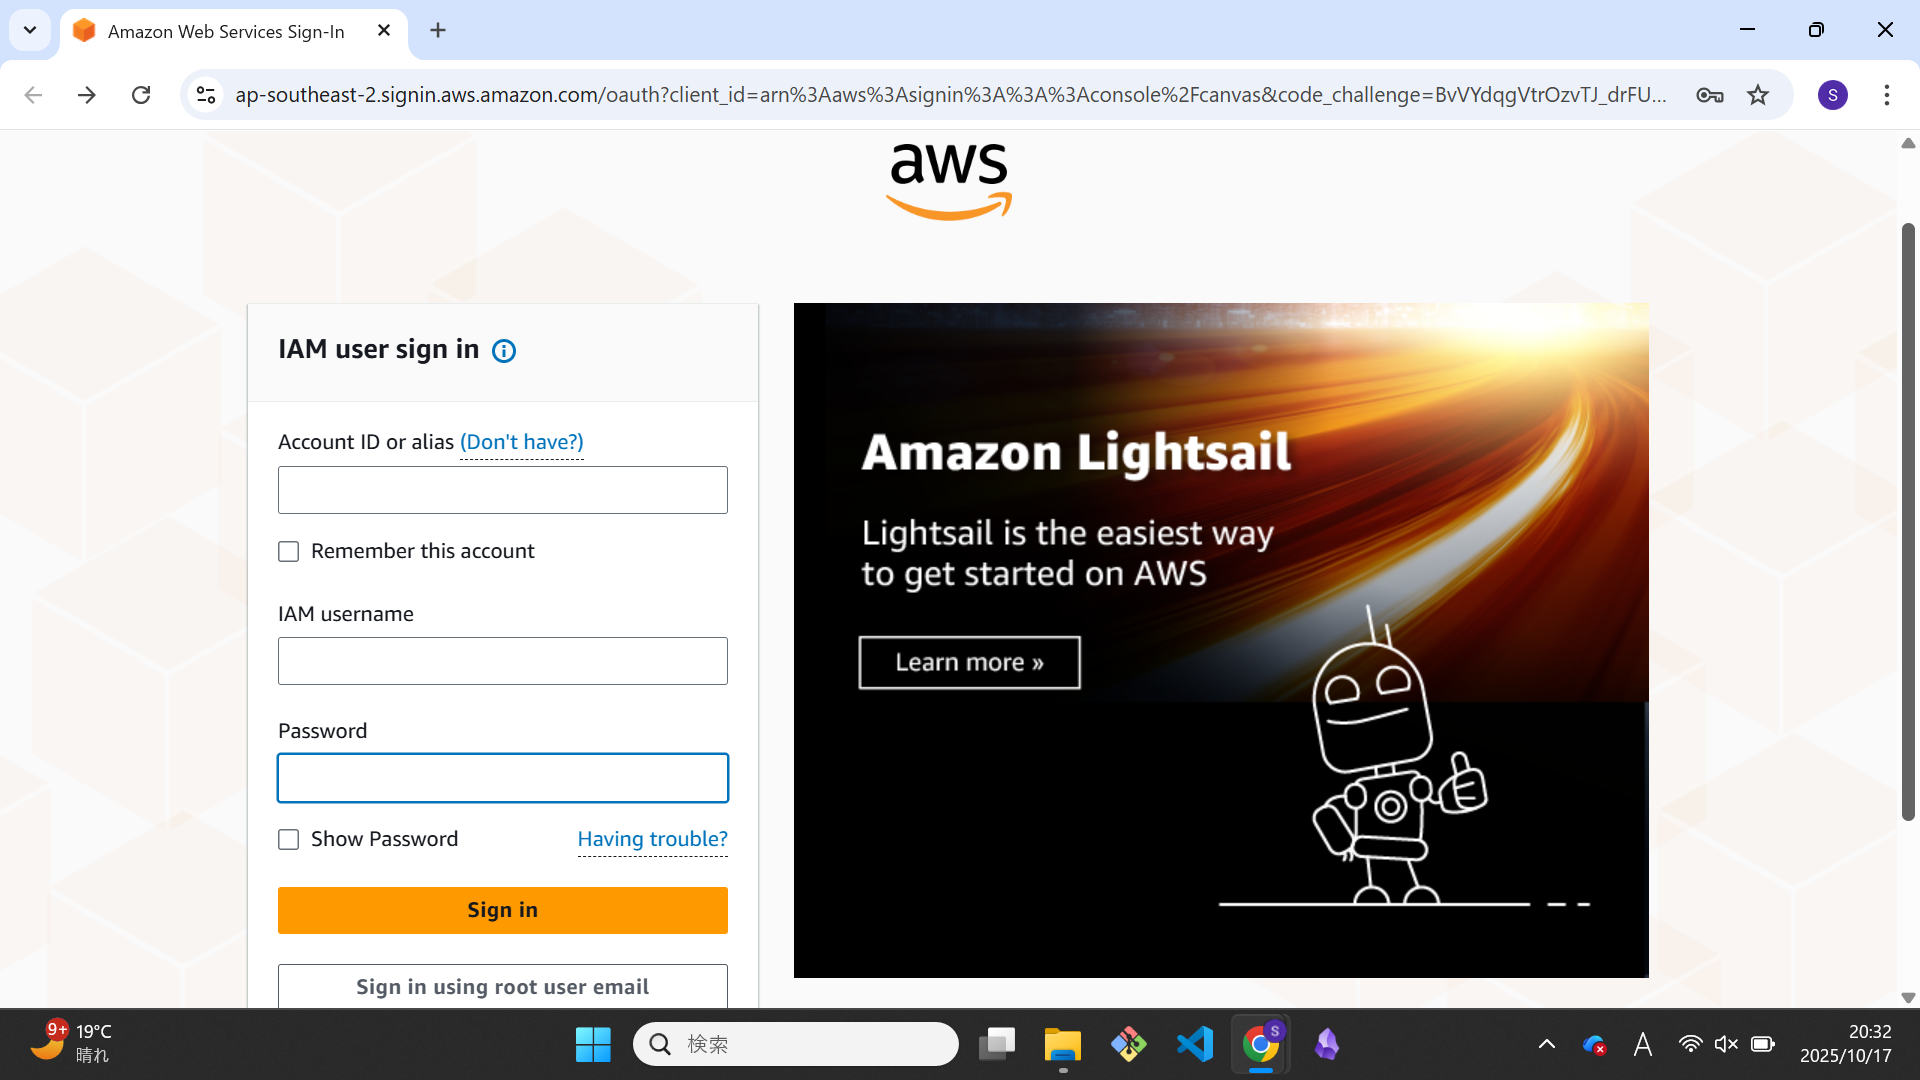
Note that there is an additional “Account ID or alias” column. If you are an IAM user, you will be issued an account ID, which you have to use to login as an IAM user.
For this example, we will be setting up the root user account for the first time, so login as the root user account.
After logging in, you will see the following screen:
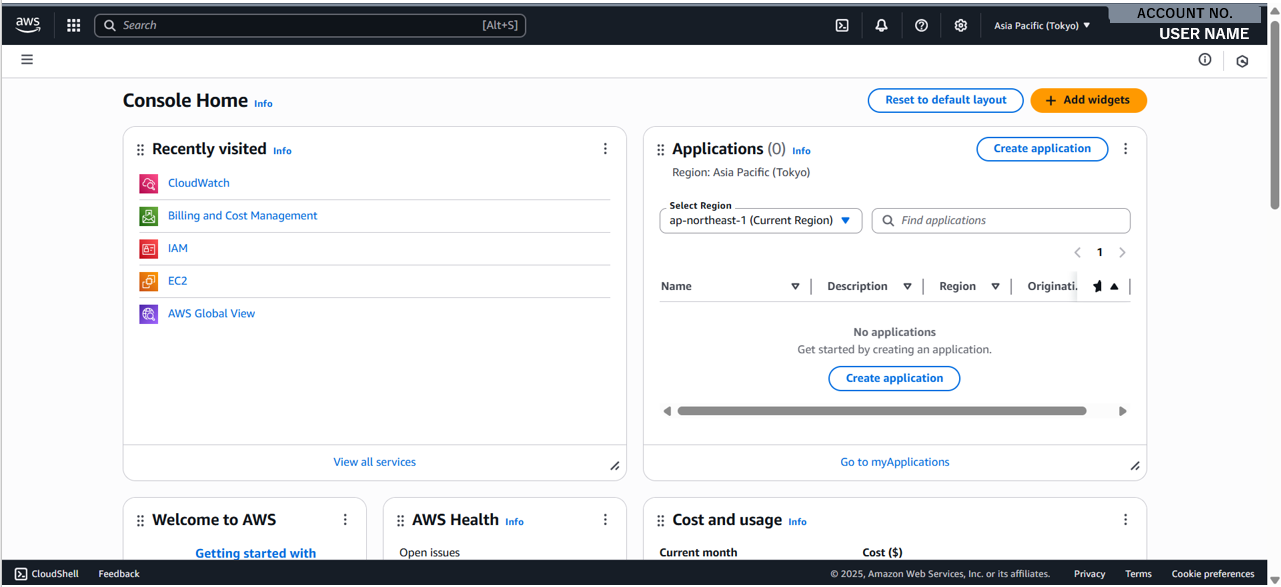
Since we are trying to use AWS in a manner that is following best practices, the first few things that are recommended to be done are:
- Setting up MFA for the root user account
- Creating an IAM admin account(also with MFA)
Explaining Best Practices
The easiest way to understand best practices is to imagine them as “security guidelines and recommendations” that are suggested by AWS. Although they are “suggestions”(by default, AWS won’t force you to follow them), in practice any full fledged production environment not using best practices can be thought of as a compliance nightmare. No critical issues have occurred…yet, but when they do you have basically set yourself up to have those issues from the beginning.
One thing to be mindful of is that AWS regards adoption of best practices as “the responsibility of the user”. If any incidents occur due to not adopting them, the responsibility falls solely on the user. The solution to those issues is simple. Instead of waiting for them to happen by ignoring them and dealing with the aftermath, we start with prevention, by following security best practices from the beginning.
https://aws.amazon.com/architecture/security-identity-compliance/
For a better understanding, I recommend readers who are interested to access the above link. There, you can find the latest info of what AWS regards as security best practices, and how you should set them up if you wish to implement a safer cloud environment.
MFA As A Security Best Practice
Multi-Factor Authentication (abbreviated as MFA) is an authentication method where, in conjunction with the standard “username and password” login method, you also authenticate through the use of an external device, usually your mobile phone.
Why is this recommended? Well, passwords are by definition a fixed combination of characters. Finding out the password of an account is an issue of “when”, not “if”. Coupled with the fact that many users typically use easy to remember (and therefore, easy to guess) passwords, and the inability for many users to effectively rotate passwords frequently, using passwords only is by definition “dangerous”.
With MFA, you add another layer of confirmation. So even if your password is accidentally leaked, your personal device used for authentication will act as the next line of defense.
Setting Up MFA In The Root User Account
To setup MFA in the root user account, the required steps are:
- Sign into the root user account, and be able to view the Management Console. (as displayed in the image above.)
- Click on your account username located at the top right corner of the screen. A popup will be displayed just below it. Click on the “Security credentials” option.

- The above screen will be displayed. In the middle segment, there is “Multi-factor authentication”. Click on the “Assign MFA device” button. You will be presented with the following screen.
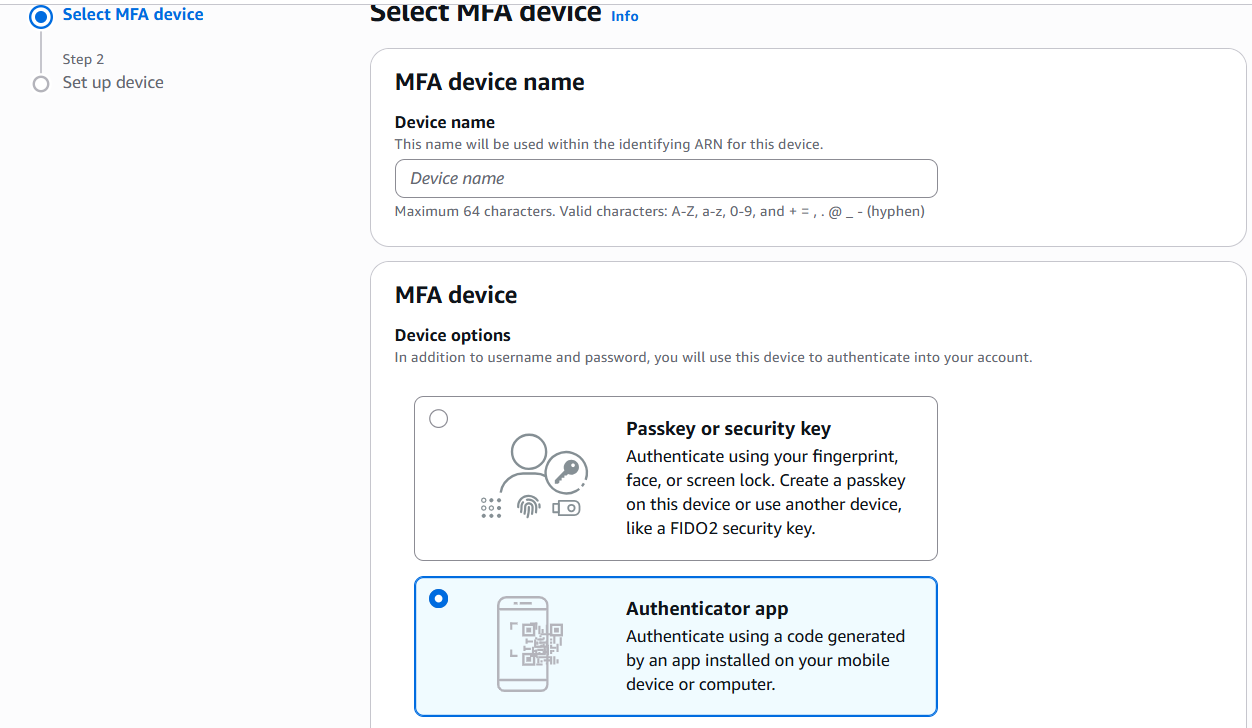
- Since for this setup, we intend to set our mobile phone as our authentication device, you must ensure that you have an authentication app installed. Then, in the screen above, you may set the name of your MFA device, then select the “Authenticator app” option. Then, click “Next”.
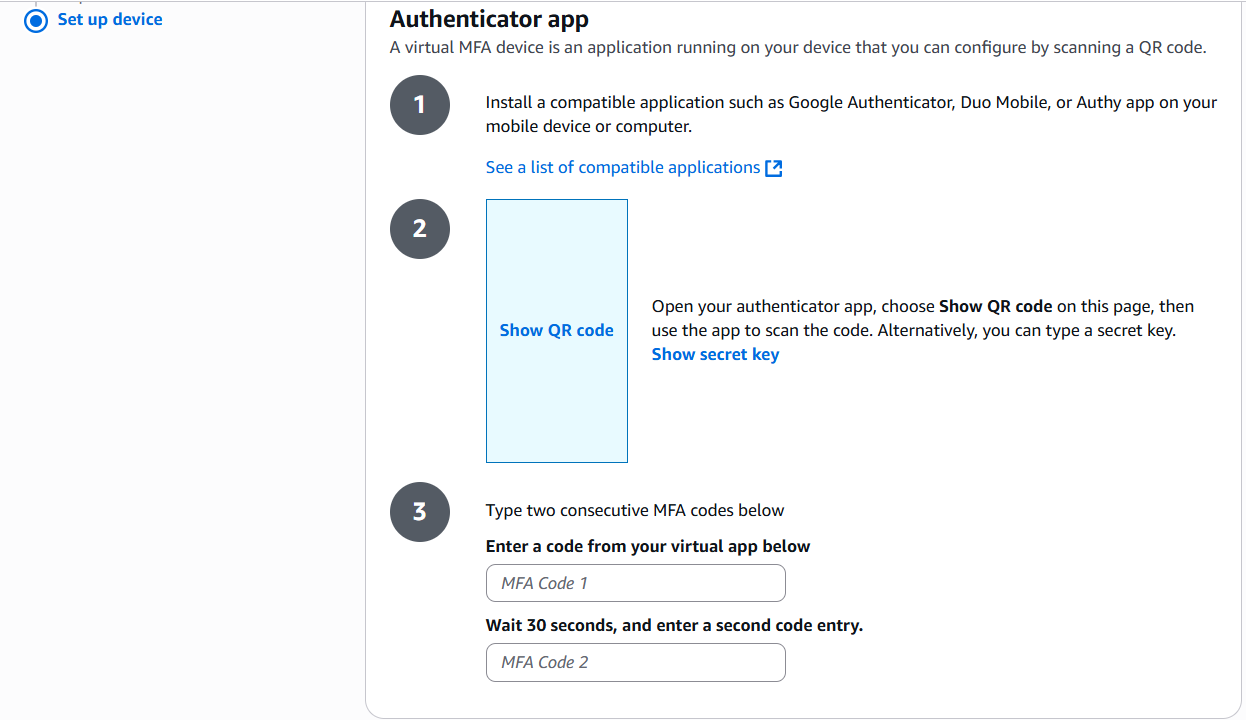
- The above screen will be displayed to you. As you can see, AWS already recommends a few authentication apps by default. Once you have the app setup on your mobile device, use it to scan the QR code that will be displayed in the above screen(if it supports QR code.) Otherwise, you will need to manually input a long secret key to register the app.
- After setting up the registration, the app will automatically display a 6 digit code that refreshes every 30 seconds. Fill in the first code in the top section, followed by the next code in the bottom section. Then, click the “Add MFA” button to complete the setup.
With the above setup completed, you will need the code that the app provides every time you login from now on. While this is a bit of a hassle, this ensures that your account is safe as long as the MFA device is secured.
Root User Account And IAM User Separation As A Best Practice
By default, the root user account has all the permissions granted to account owner by default (think of it as a master account). While this is extremely convenient for the account owner, and is necessary from a point of view, this also means that there is no way to limit the permissions of the root user account itself. Whoever gains access to this account will basically have absolute control over the entire project environment. This criteria itself makes the root user account not suitable for any real world production level environment. Therefore, usage of the root user account should be thought of as a last resort, and should otherwise be avoided whenever possible.
The more normal approach is to create an IAM user, then operate the cloud environment through said user account. The required steps are as follows:
- From the Management Console dashboard, search “IAM” in the search bar, and click on the relevant result. You will be presented withe the following screen.
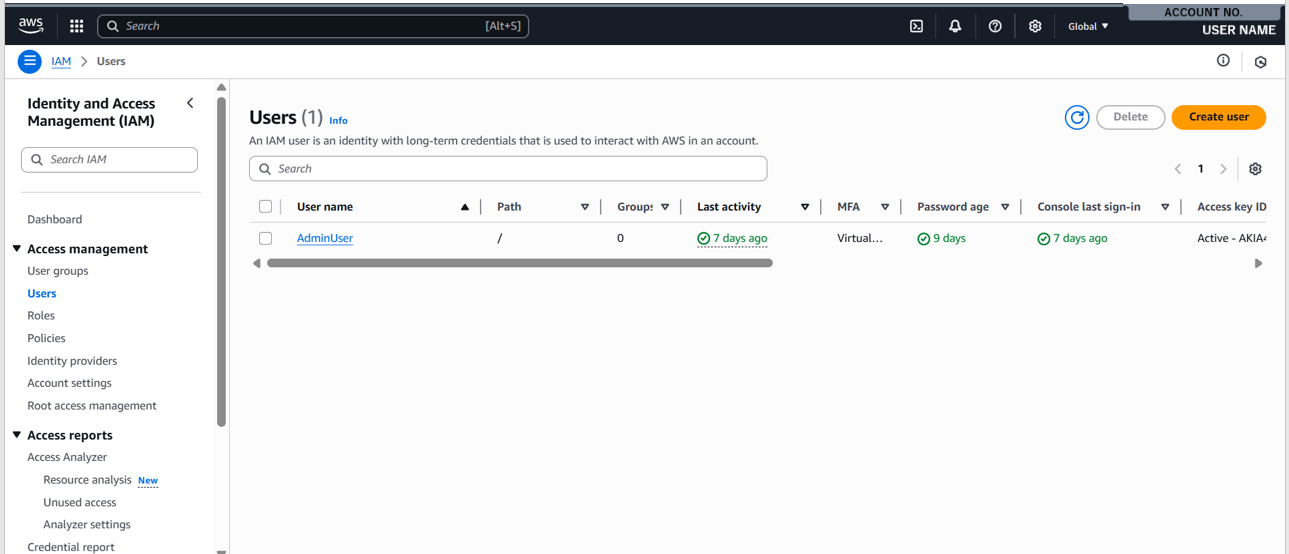
- From the list of options on the left, select “Users”. Then, click the “Create user” button.
- Set the user name. Then, choose the option to enable console access. (You can disable this setting if you intend to first create accounts, then grant access at a later date. In this case, password settings are not required.)
- Then, for the console password, an autogenerated password is recommended. It is also recommended that the setting that requires the user to set a new password upon sign-in to be selected.
- Set the appropriate permission that the user needs. For this example, since we are creating an admin account, we will attach the “AdministratorAccess” permission. (Keep in mind that in an actual project setting, you should only assign the permissions that the user absolutely needs, and nothing more, in accordance with the “principle of least privilege”.)
- If you have setup the password related options for the user, you will then be presented with a screen that shows the sign-in URL for the user, the user name and the password that was set(or was randomly generated). Note that the information will only be displayed once, and cannot be accessed anywhere else again. You have the option to download the “.csv” file containing the info that was displayed, just in case.
With the above steps, you have successfully created your very own IAM user account.
While the following steps are optional, we will configure MFA for the user, since we have just explained the importance of using MFA. Normally, this will be done after the user logs in, by the individual user himself. However, since we are creating a personal IAM user account, we may proceed with the following steps:
- In the “Users” section that we used just now, there will now be a new user created. Click on the user name.
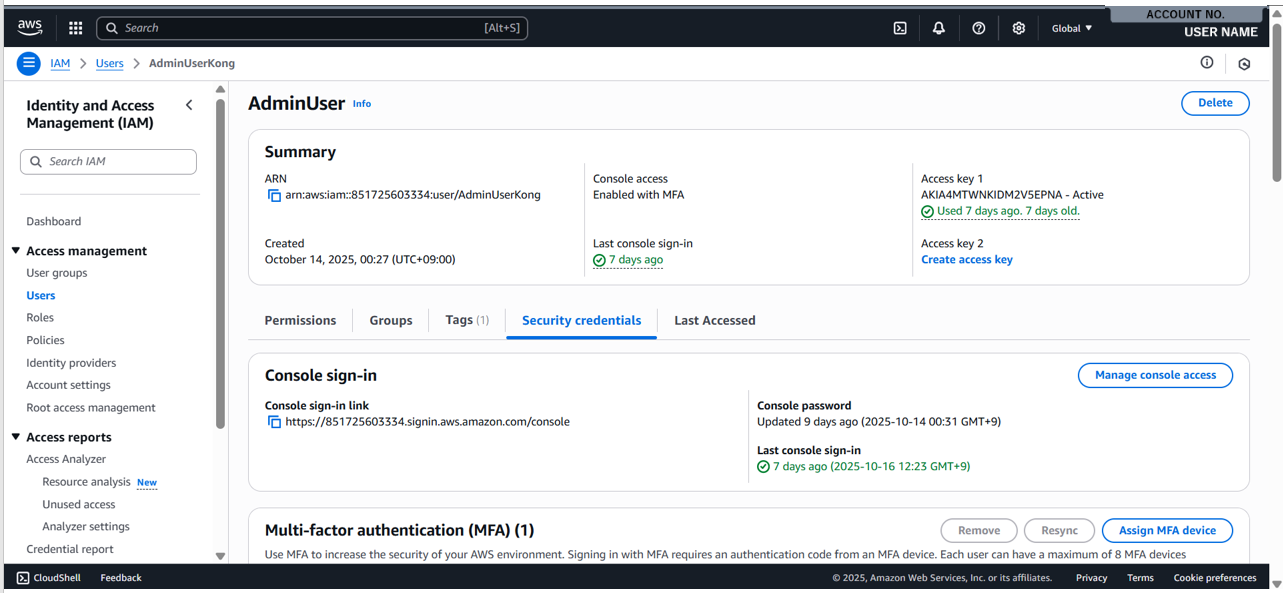
- You will presented with the above screen for the respective user. You can see that one of the options in the middle section is “Security credentials”, just like the option we have configured for the root account. Select it.
- In the bottom section, there will be a segment called “Multi-factor authentication”. You can click on the “Assign MFA device” button.
- The steps for setting a MFA device is the same for the root account setup from here on out. (Specifically, steps 4 to 6). Keep in mind that this is the setup for the IAM user account, so you should probably name the MFA option as something distinct from the root user account to avoid confusion.
With the above setup, you now have an IAM user account that you can use for standard AWS operations. When you sign-in for the first time, you will be prompted to use the sign-in info credentials that was set before, followed by using the MFA that was setup earlier. It should also prompt you to change the password after the initial sign-in.
Conclusion
With the above walkthrough, we have demonstrated how to properly setup MFA, as well as creating an IAM admin account, while understanding why we should avoid using the root user account whenever possible. While this blog covers the initial account setup, we have yet to setup the AWS budget to prevent accidental over-spending. In the next blog, we will follow up by explaining how to setup AWS Budget.